Email signatures have the power to make your company or side job look more legitimate and professional. It’s partly about trust, but it’s also an opportunity to drive traffic to social media or offer alternative contact details.
Emails can support HTML and CSS giving vast options for customisation and layouts. But you don’t necessarily need to do any of this. Using some small images and hyperlinks you can create a very stylish signature. So how do you create a professional looking email signature that actually functions? Just follow this guide & put your own spin on it.

Plan Your Design
First you need to decide what information you want to show recipients of your email. If you are just starting out and dealing with sales or enquiries it might not always be beneficial to mention your job title as director or business owner.
Do you want to offer alternative means of contact e.g. contact number or Skype. Do you want to push your social media channels if so which ones? Most importantly a link to your own website is a must.
Things To Remember
- Keep your images small in file size, this limits the size of the email which can take time to load and uses more mailbox storage space.
- Icons and images must be created at the correct size you want them to show at.
- You can create multiple signatures per email account.
- Other email clients allow for this same kind of signature creation. This demo is for apple mail.

Creating The Signature Design

- This first part can be done in the email editor. Adjusting text size and colour as appropriate.
- Logo will need to be created at the correct size for this 100 x 250 pixels should work for this look.
- The line can be made with text using the _ (underscore) key then coloured.
- Social media icons will then need to be created in individual squares to fit the design. A size of 20 x 20 pixels will allow for the 5 icons to fall in the 250 px range with appropriate space at the end.

Placing Assets
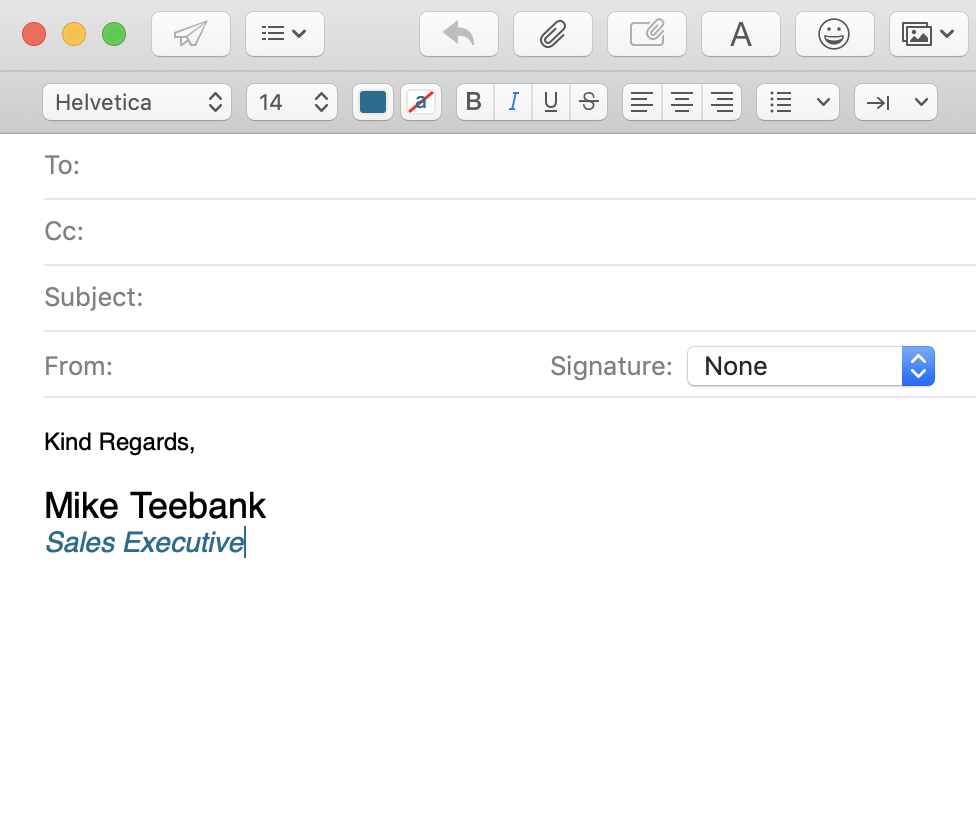
Open a black email template. Start by typing the text out then adding the formatting options through the tool bar start by typing the text out then adding the formatting options through the tool bar.

Drag and drop or upload the logo image into the email on the line below.
Add the _ Line into the email below the logo and edit the colour.

Drag and drop or insert the 5 individual social media icons under the line. these will need to be separate images and not one image with all of the logos on so they can be linked to the pages the relate to.

Adding Links
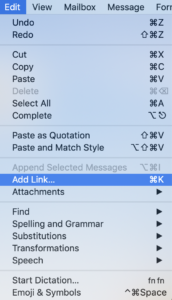
Now all the assets are in place we need to add links to enable the logos and icons direct to the appropriate websites.
First select the logo then go to Edit > Add Link.. or command K.
Then add the appropriate link into the dialogue box and press ok.
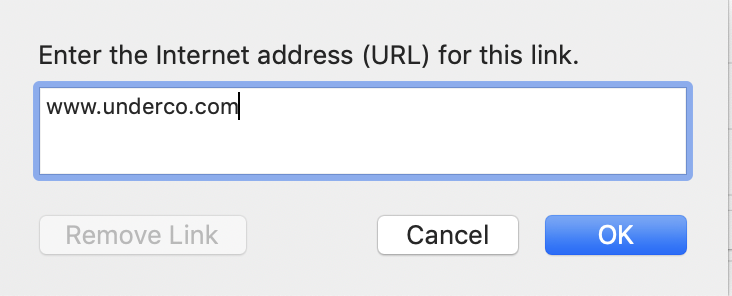

Do the same for each of the individual links directing to the different social media pages.

Creating the Signature
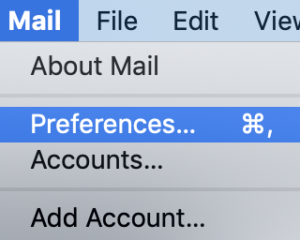
Copy the completed signature from the email then go to Mail > Preferences.
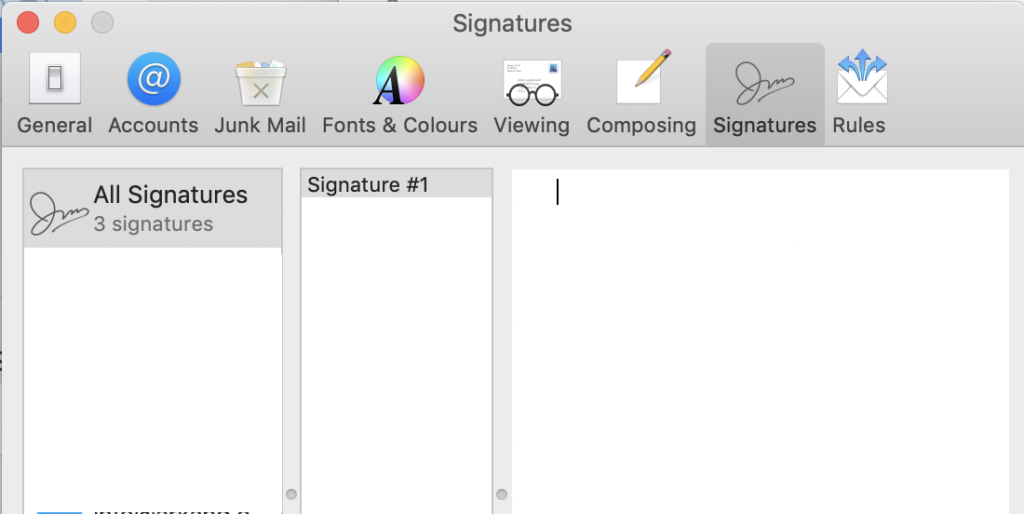
Select the signature option and add a new signature to the appropriate account. Then make sure this box is unticked.

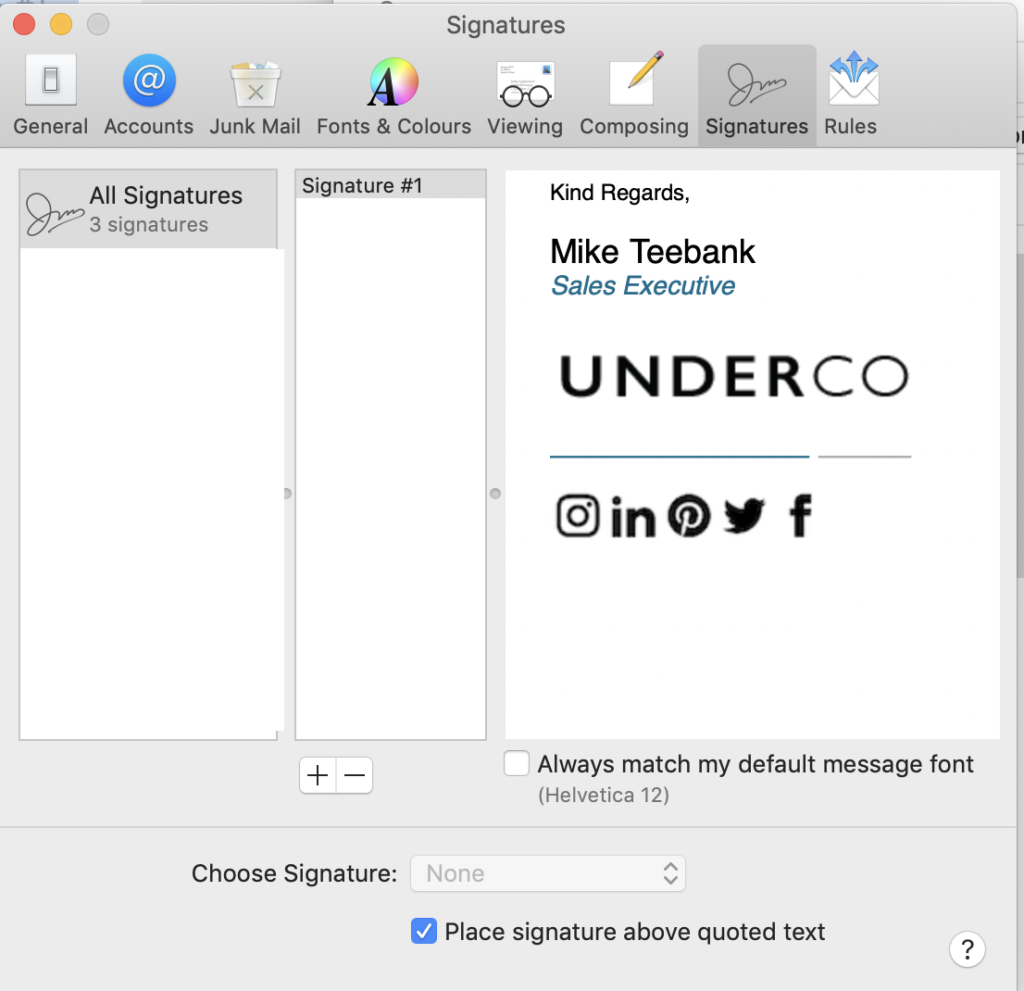
This will then complete the signature set up. set the signature as your default using the choose signature option and then go to a blank email and send a test email to your self to ensure all the links and formatting has worked correctly.

Enjoy Your New Email Signature.
If you need any assets creating for your signature don’t hesitate to get in-touch.
